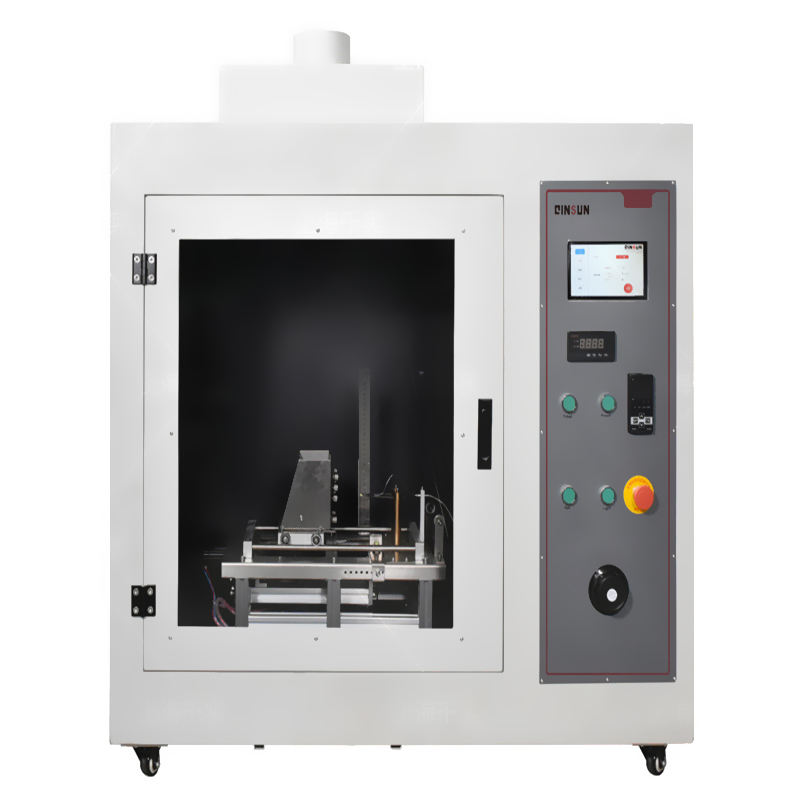
F243 Needle Flame Tester Calibration Specification Operation
The F243 needle flame tester is developed according to the provisions of the needle flame combustion test in the standards GB4706.1-2005 and GB5169.5 "Test flame needle flame test method device, confirmation test method", and is a new type of comprehensive equipment that fully meets national standards and relevant UL and IEC standards.
Gellowen Science is the supplier of the old brand standard equipment, offering a comprehensive range of products across multiple industries. With a world-renowned reputation, Gellowen Science has established strategic partnerships with numerous multinational corporations. Our company is also actively involved in developing testing equipment for various fields, particularly focusing on providing customized solutions for our customers. We boast a talented team in research, development, design, and production of software and hardware, ensuring our testing equipment offers high quality, stable testing procedures, and advanced intelligence. Our testing equipment caters to production, education, research, quality inspection, and more, adhering to standards from different regions and countries, including EN, ISO, and BS.
Test parameters:
Needle burner: inner hole Φ0.5mm±0.1mm, outer diameter Φ0.9mm, length ≤35mm
Burner flame angle: 0-45° (adjustable at will)
Burning time: 0-999.9s±0.1s, adjustable at will (flame automatically advances and retreats)
Burning time: 0-999.9s±0.1s, automatically recorded
Flame height: 12mm±1mm (with height measuring ruler)
Needle height: greater than 35mm (inner diameter Φ0.5, outer diameter Φ0.9)
Burning gas: 95% butane gas (bottled liquefied petroleum gas can be used, gas source is self-contained)
Gas volume: adjustable, precision flow valve

Calibration items:
Flame height calibration: Use a flame height meter to measure the flame height and compare it with the instrument display value.
Adjust the flame height to the specified range. The flame height calibration should be performed after the test machine is preheated to ensure the stable combustion state of the flame.
Temperature calibration:
A thermometer is arranged at a specific position in the combustion chamber of the test machine to record the temperature change during the test.
Compare with the temperature value displayed by the instrument. If there is any deviation, the instrument should be calibrated and adjusted.
Put the temperature sensor (i.e. the connected thermocouple) and the standard platinum resistor into the dry well furnace and place them at the bottom of the dry well furnace. Set the temperature of the dry well furnace to 100℃ and 700℃ respectively. After the temperature stabilizes, read the display values of the standard platinum resistor and the temperature controller to calculate the actual error of the temperature sensor.
Time calibration:
Start the needle flame tester and calibrate the flame timer and the flame holding timer respectively.
Calibrate at four-time calibration points of 10s, 30s, 60s, and 120s, repeat each point twice, and record the time error. The time error is required to be no more than 0.5s.
Other calibration items:
Use a steel tape measure to measure the length, width, and height of the test chamber, and calculate the volume of the test chamber to ensure that it meets the standard requirements.
Use a digital display vernier caliper to measure the length, outer diameter, and inner diameter of the burner needle, record and compare the standard values, and ensure that the size meets the regulations.
Adjust the burner tilt angle and use a universal angle ruler to calibrate the 0° and 45° points to ensure accurate angle adjustment.

